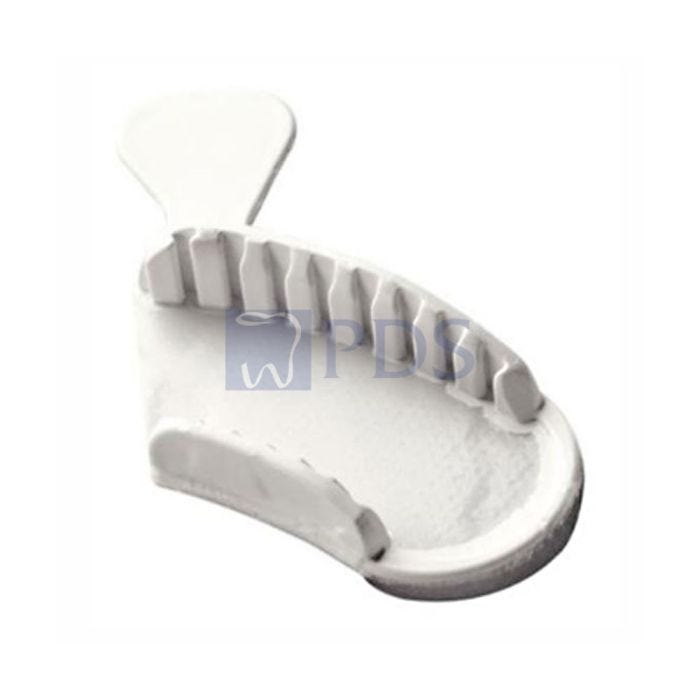
Advantage Thermtray1 Closed Bite Impression Tray, Quadrant Upper Left/ Lower Right, 24/bx 112

Item Number: 112-2
Manufacturer: Advantage Dental Products, Inc
Item Discontinued.
$54.69

Features & Benefits:

  • Advantage Thermtray1 Closed Bite Impression Tray Quadrant Upper Left/ Lower Right Uses up to 70% less impression material.
  • The ThermTray1 quadrant tray requires only 17 ml of impression material. So think of the savings you'll enjoy per impression. And thanks to the unique thermoplastic bite wafer in every Advantage ThermTray1 (quadrant, 3/4-arch or anterior), you'll save valuable time.
  • When removed from the patient's mouth the tray's impression is totally stable - without distortion or spring-back.
  • The thermoplastic bite wafer thus eliminates remakes and adjustments, saving valuable chair time.
  • Adapts to any anatomy and produces absolute rigidity - without spring-back distortion
  • Allows removal of the end bar whenever anatomy or clearance dictate.
  • Produces the least "gag" of any tray.
  • Yields three times as many impressions per cartridge of impression material.
  • Thin end-bar is notched to avoid spring back. Advantage Therm Tray 1 delivers the strength of steel with the disposability of plastic. Plus, it guarantees a pre-indexed guide to the correct centric bite for superior clinical results.
  • Direction:

  • Step 1: Impression materials of choice are polyethers (impregum, polygel) and polyvinylsiloxanes. Select proper tray (UL-LR or UR-LL) and 1 soften in water bath at 150° F (65.5o C) or in one inch of water in ceramic coffee cup, microwaved for 90 seconds on high. Tray is ready when bite wafer is soft and clear (in approximately one minute). Note: Adhesive should be placed in prep side of tray; may be done before placing in water bath.
  • Step 2: After placing anesthetic, stretch bite wafer forward and position tray. Have patient close to centric. If patient is not in centric, instruct him or her to tap teeth slightly until you see (and patient feels) the centric position.
  • Step 3: Push the bite wafer you previously stretched forward into the central or lateral teeth to form an anterior index to centric. Be sure wafer is hard (set may be hastened by having the patient open slightly and spraying air on wafer for 30 seconds; then have patient reocclude). Note: No time is wasted since tray sets while waiting for anesthesia.
  • Step 4: Points of Caution: Always check wafer with explorer on buccal and lingual for white-hard set before removing. After prep is completed, inject impression material of choice into tray, being sure to fill grooves in tray wall. Very little impression material is required.
  • Step 5: Inject around prep and seat tray onto thermoplastic counter side previously recorded. Have patient close to centric. Before loading and seating tray, it is recommended to practice closure without wash material.
  • Third-Molar Interference: Try in softened tray before starting prep. If patient cannot properly occlude, cut off end bar. Simply position tray over arch and tooth to be prepped. Have patient occlude and wait for thermoplastic to set. Use as you would in Step 4.

Application:

  • It accurately records the teeth opposing the crown or bridge to be made. Creates a guide to correct centric for final impression.
Show More
Advantage Dental ThermTray1 Closed Bite Impression Trays
Write Your Own Review
You're reviewing:Advantage Thermtray1 Closed Bite Impression Tray, Quadrant Upper Left/ Lower Right, 24/bx 112
Your Rating
@2024 Prime Dental & Medical Supply Inc., All Rights Reserved